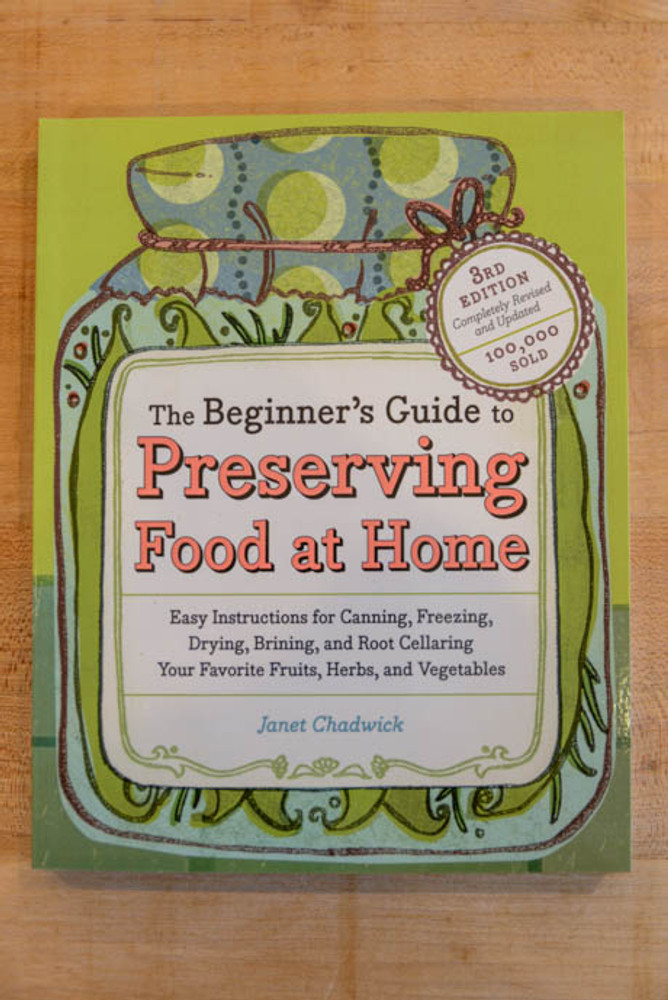
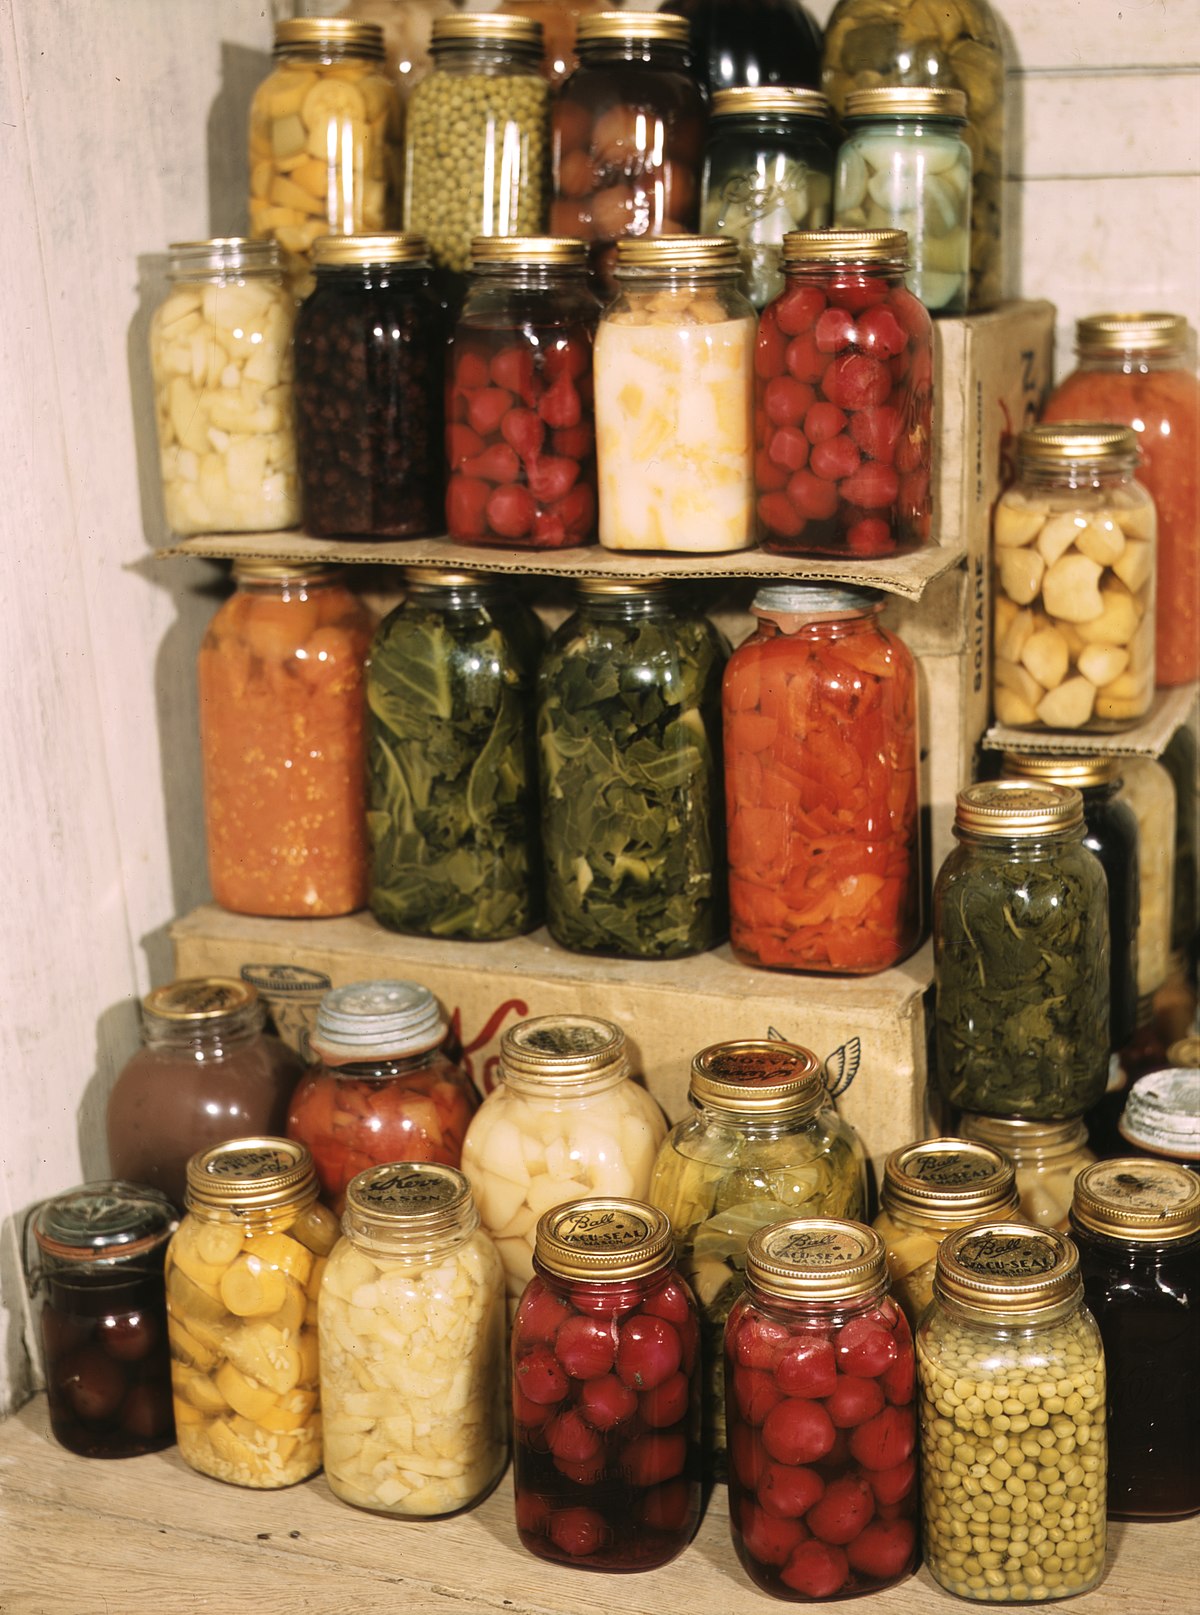
How To Make Can Food At Home: A Beginner’s Guide To Preserving Food

Welcome to the world of home Canning, where you can preserve the flavors of your favorite foods and enjoy the satisfaction of creating your own delicious pantry staples. Whether you’re a seasoned canner or just starting out, this comprehensive guide from baobei.com.vn will provide you with everything you need to know to get started. We’ll cover the essential equipment, help you select the right ingredients, and walk you through the step-by-step canning process. Plus, we’ll share valuable tips and tricks to ensure your canned goods are safe and delicious. So, gather your ingredients, prepare your equipment, and let’s embark on the rewarding journey of home canning!

Equipment You’ll Need
Before you start canning, it’s important to gather all the necessary equipment. Here’s a list of essential items you’ll need:* **Canning jars:** These are special jars designed for canning. They come in various sizes and shapes, so choose the ones that are right for your needs.* **Lids and rings:** Lids create a seal on the jars to prevent air from getting in. Rings hold the lids in place.* **Canner:** A canner is a large pot that you use to boil the jars and their contents. You can use a water bath canner or a pressure canner.* **Jar lifter:** A jar lifter is a tool that helps you safely remove hot jars from the canner.* **Bubble popper:** A bubble popper is a tool that helps you remove air bubbles from the jars before sealing them.* **Headspace tool:** A headspace tool helps you measure the correct amount of space between the food and the lid of the jar.
| Equipment | Purpose |
|---|---|
| Canning jars | Hold the food you’re canning |
| Lids and rings | Seal the jars and prevent air from getting in |
| Canner | Boils the jars and their contents |
| Jar lifter | Safely removes hot jars from the canner |
| Bubble popper | Removes air bubbles from the jars |
| Headspace tool | Measures the correct amount of space between the food and the lid of the jar |
**Tips for Choosing Canning Equipment:*** Choose jars that are the right size for your needs.* Make sure the lids and rings are in good condition.* Choose a canner that is large enough to hold the number of jars you’re canning.* A jar lifter is a valuable tool that can help prevent burns.* A bubble popper is a helpful tool for removing air bubbles from the jars.* A headspace tool can help ensure that your jars are properly sealed.
Types of Canners
There are two main types of canners: water bath canners and pressure canners.* **Water bath canners:** Water bath canners are used for canning high-acid foods, such as fruits, jams, and jellies.* **Pressure canners:** Pressure canners are used for canning low-acid foods, such as vegetables, meats, and fish.The type of canner you need will depend on the type of food you’re canning.
Canning Safety
Canning is a safe way to preserve food, but it’s important to follow the instructions carefully to avoid the risk of botulism. Botulism is a serious illness that can be caused by eating food that has been improperly canned.Here are some tips for canning safety:* Always use clean equipment.* Follow the canning instructions carefully.* Process the jars for the correct amount of time.* Store the canned food in a cool, dark place.By following these tips, you can safely enjoy the fruits of your canning labor!

Selecting the Right Ingredients
When it comes to canning, choosing the right ingredients is crucial for ensuring the safety and quality of your canned goods. Here are a few tips to help you select the best ingredients:
Freshness is Key
Always use fresh, high-quality ingredients for canning. Avoid using bruised, damaged, or overripe produce. Fresh ingredients will yield the best results and ensure the safety of your canned goods.
- Related: How to Make Pancakes
- Related: How to Boil Eggs
Acidity Matters
The acidity level of your ingredients plays a role in determining the canning method you need to use. High-acid foods, such as fruits, jams, and jellies, can be safely canned in a water bath canner. Low-acid foods, such as vegetables, meats, and fish, require a pressure canner to ensure their safety.
| Food Type | Acidity Level | Canning Method |
|---|---|---|
| Fruits | High-acid | Water bath canner |
| Vegetables | Low-acid | Pressure canner |
| Meats | Low-acid | Pressure canner |
Choose the Right Varieties
Certain varieties of fruits and vegetables are better suited for canning than others. For example, firm, tart fruits like apples and cherries hold their shape well during canning, while soft, juicy fruits like peaches and berries may become mushy.
Consider Your Preferences
Ultimately, the best ingredients for canning are the ones that you enjoy eating! Choose fruits and vegetables that you and your family love, and experiment with different varieties to find your favorites.

Step-by-Step Canning Instructions
Preparing Your Jars and Lids
Before you start canning, it’s important to prepare your jars and lids. Wash the jars thoroughly with hot, soapy water and rinse them well. Place the jars on a clean towel to air dry.Next, inspect the lids for any damage or rust. If a lid is damaged, do not use it. Place the lids in a small saucepan and cover them with water. Bring the water to a boil and let the lids boil for 10 minutes. This will sterilize the lids and make them ready for use.
Filling the Jars
Once your jars and lids are prepared, it’s time to fill the jars with your food. Fill the jars to within 1 inch of the top. Use a bubble popper to remove any air bubbles from the jars.
Adding Liquid
Once the jars are filled with food, add liquid to the jars. The type of liquid you use will depend on the type of food you are canning. For high-acid foods, such as fruits, you can use water, fruit juice, or vinegar. For low-acid foods, such as vegetables, you must use a boiling water bath or a pressure canner.
Sealing the Jars
Once the jars are filled with food and liquid, it’s time to seal the jars. Place a lid on each jar and screw on the ring. Tighten the ring until it is finger-tight.
Processing the Jars
Once the jars are sealed, it’s time to process them. The processing time will depend on the type of food you are canning and the type of canner you are using. For high-acid foods, you can process the jars in a boiling water bath for 10 minutes. For low-acid foods, you must process the jars in a pressure canner for the amount of time specified in the recipe.
Cooling the Jars
Once the jars have been processed, it’s important to let them cool down slowly. Place the jars on a wire rack and let them cool at room temperature for 12-24 hours.
Storing the Jars
Once the jars have cooled, they can be stored in a cool, dark place. Canned foods can be stored for up to 1 year.
| Food Type | Processing Time (Water Bath) | Processing Time (Pressure Canner) |
|---|---|---|
| Fruits | 10 minutes | Not applicable |
| Vegetables | Not applicable | Varies depending on the vegetable |
- Related: How to Make Pancakes
- Related: How to Boil Eggs
Tips for Successful Canning
* Always use fresh, high-quality ingredients.* Wash your jars and lids thoroughly before canning.* Follow the canning instructions carefully.* Process the jars for the correct amount of time.* Store the canned food in a cool, dark place.By following these tips, you can safely enjoy the fruits of your canning labor!

Tips for Successful Canning
Canning is a great way to preserve food and enjoy the fruits of your labor all year long. But it’s important to follow the instructions carefully to ensure that your canned goods are safe to eat. Here are a few tips to help you get started:
- Always use fresh, high-quality ingredients. This will help ensure that your canned goods are of the best quality.
- Wash your jars and lids thoroughly before canning. This will help prevent bacteria from contaminating your food.
- Follow the canning instructions carefully. Each type of food has specific canning instructions that must be followed to ensure safety.
- Process the jars for the correct amount of time. This will help kill any bacteria that may be present in the food.
- Store the canned food in a cool, dark place. This will help prevent spoilage.
| Canning Method | Suitable for | Processing Time |
|---|---|---|
| Water bath canning | High-acid foods (e.g., fruits, jams, jellies) | 10 minutes |
| Pressure canning | Low-acid foods (e.g., vegetables, meats, fish) | Varies depending on the food |
By following these tips, you can safely enjoy the fruits of your canning labor!
Related: How to Make Pancakes
Related: How to Boil Eggs

Final Thought
Congratulations on taking the first steps towards becoming a home canning pro! Remember, practice makes perfect, so don’t be discouraged if your first few batches aren’t exactly what you hoped for. With patience and attention to detail, you’ll soon be preserving your favorite foods like a seasoned canner. So, keep experimenting, explore new recipes, and enjoy the delicious rewards of your homemade canned goods. Happy canning!


